Passkeys
Passkeys serve as a substitute for passwords, offering faster, simpler, and more secure logins across various devices for users accessing websites and applications. They differ from traditional passwords as passkeys are more secure and resistant against phishing attacks. They streamline the process of account registration for both apps and websites.
Passkeys rely on public key cryptography for authentication instead of user-entered passwords. This is more secure because no password is being transferred to an application server. Instead, a public/private key pair is used to authenticate with a given app. The public key is stored on the app’s server, and the matching private key is stored on the user’s device.
| The private key is never shared with the app itself. |
How does it work?
When a user attempts to log in, the server issues a challenge which is only solved by proving the user has the required private key. This is typically achieved through a device unlock mechanisms such as biometrics or a device PIN. Once unlocked, the private key solves the challenge and sends it back to the server to be validated by the associated public key.
This all take place behind the scenes, creating a more user-friendly experience.
Relying Party ID
Relying Party ID is the domain to which passkeys are bound. Once bound to a domain, the RP ID can be used on subdomains but not other full domains.
Using the Relying Party ID of example.com allows the use of credentials on help.example.com for example, but not on a different full domain like example.fr.
In this case, customers would need a common login page for passkeys for varying full domains like the stated example here.
In Purse Identity, Allowed origins are configured as full origin URLs in the Purse Identity Console.
The Purse Identity Console labels this field as allowed URLs only, but you also enter the RP ID there as an origin URL (https://example.com or https://www.example.com).
The RP ID used for a ceremony is the hostname of the origin URL you send to the WebAuthn APIs (for example https://example.com → example.com).
See WebAuthn and passkey allowed origins for how that interacts with the page that runs the browser ceremony.
The RP ID ensures that the passkey is used only for the intended website or service, preventing phishing attacks.
This concept is standard across web, iOS, Android, and other platforms. Each platform implements the RP ID to verify the authenticity of the service requesting authentication.
| For more platform-specific details, see Passkeys on iOS and Passkeys on Android. |
WebAuthn and passkey allowed origins
In the Purse Identity Console, under , Allowed origins is a list of full origin URLs.
Enter values such as https://example.com or https://www.example.com.
The Purse Identity Console labels this field as allowed URLs only.
Those URLs are the pages allowed to complete a WebAuthn flow.
They also act as allowed Relying Party IDs.
Enter the RP ID in that same field as an origin URL; do not enter a bare hostname.
The RP ID is the hostname of the URL (https://example.com → example.com, https://www.example.com → www.example.com).
Those two hosts are different RP IDs.
You send one of those URLs as origin to the Identity API WebAuthn endpoints (or as webAuthnOrigin in the Core SDK).
Purse Identity uses that URL to select the Relying Party ID.
The credential manager then uses that RP ID.
Purse Identity then checks the actual page origin in clientDataJSON against Allowed origins.
-
Options request: The
origin/webAuthnOriginvalue must match an Allowed origin exactly. The Relying Party ID is the hostname of that URL. For example,https://example.comyields the RP IDexample.com. -
Credential manager: When the options are received and passed to
navigator.credentials.create()ornavigator.credentials.get(), the credential manager looks for passkeys bound to that RP ID. It also checks that the RP ID is compatible with the current page: the RP ID must be a suffix of the page’s domain. For example, RP IDexample.comis compatible withhttps://auth.example.com, but not with a different site. -
Backend validation: When the browser completes the ceremony, it embeds the actual page origin in
clientDataJSON. Purse Identity checks that origin against the Allowed origins list.
| Allowed origins are modelled as URLs. The RP ID itself is the host extracted from the origin URL you send. |
Don’t treat window.location.origin as always correct for the API origin / webAuthnOrigin value.
If your login UI runs on a subdomain but you want passkeys bound to the root domain, pass the root origin URL explicitly and list both origins as shown below.
Use one Allowed origin when the page that runs the ceremony is the same origin you want as the RP ID.
Example:
-
Page URL:
https://example.com -
API
origin/webAuthnOrigin:https://example.com(orwindow.location.originwhen it equals that value) -
Allowed origins:
https://example.com -
Resulting RP ID:
example.com
Use two Allowed origins when the UI runs on a subdomain (or another host under the same registrable domain) but passkeys must be bound to the root domain.
-
Page URL:
https://auth.example.comThe credential manager allows this page because RP IDexample.comis a suffix ofauth.example.com. -
Desired RP ID:
example.com -
API
origin/webAuthnOrigin:https://example.com -
Allowed origins must include both:
-
https://example.comso you can send it asoriginand the RP ID becomesexample.com -
https://auth.example.comso the backend accepts the page origin inclientDataJSON
-
Common misconfigurations for allowed origins
If you only allow https://auth.example.com and send that as origin, the ceremony succeeds but the RP ID becomes auth.example.com.
Credentials bound to that RP ID are not shared the same way as credentials bound to example.com.
If you only allow https://example.com while the UI runs on https://auth.example.com, the options call can succeed when you pass https://example.com.
The credential manager can run because RP ID example.com is a suffix of auth.example.com.
Registration or authentication still fails because the backend checks clientDataJSON.origin (https://auth.example.com) against Allowed origins.
| For the broader RP ID concept across platforms, see Relying Party ID. For the FIDO2 console walkthrough, see FIDO2 and FIDO2 web guide. Native apps may also list facet IDs or related identifiers in Allowed origins; see the iOS and Android passkeys guides. |
Discoverable and Non-discoverable logins
Both discoverable and non-discoverable logins are supported across the various operating systems and platforms, making them a universal aspect of passkey authentication.
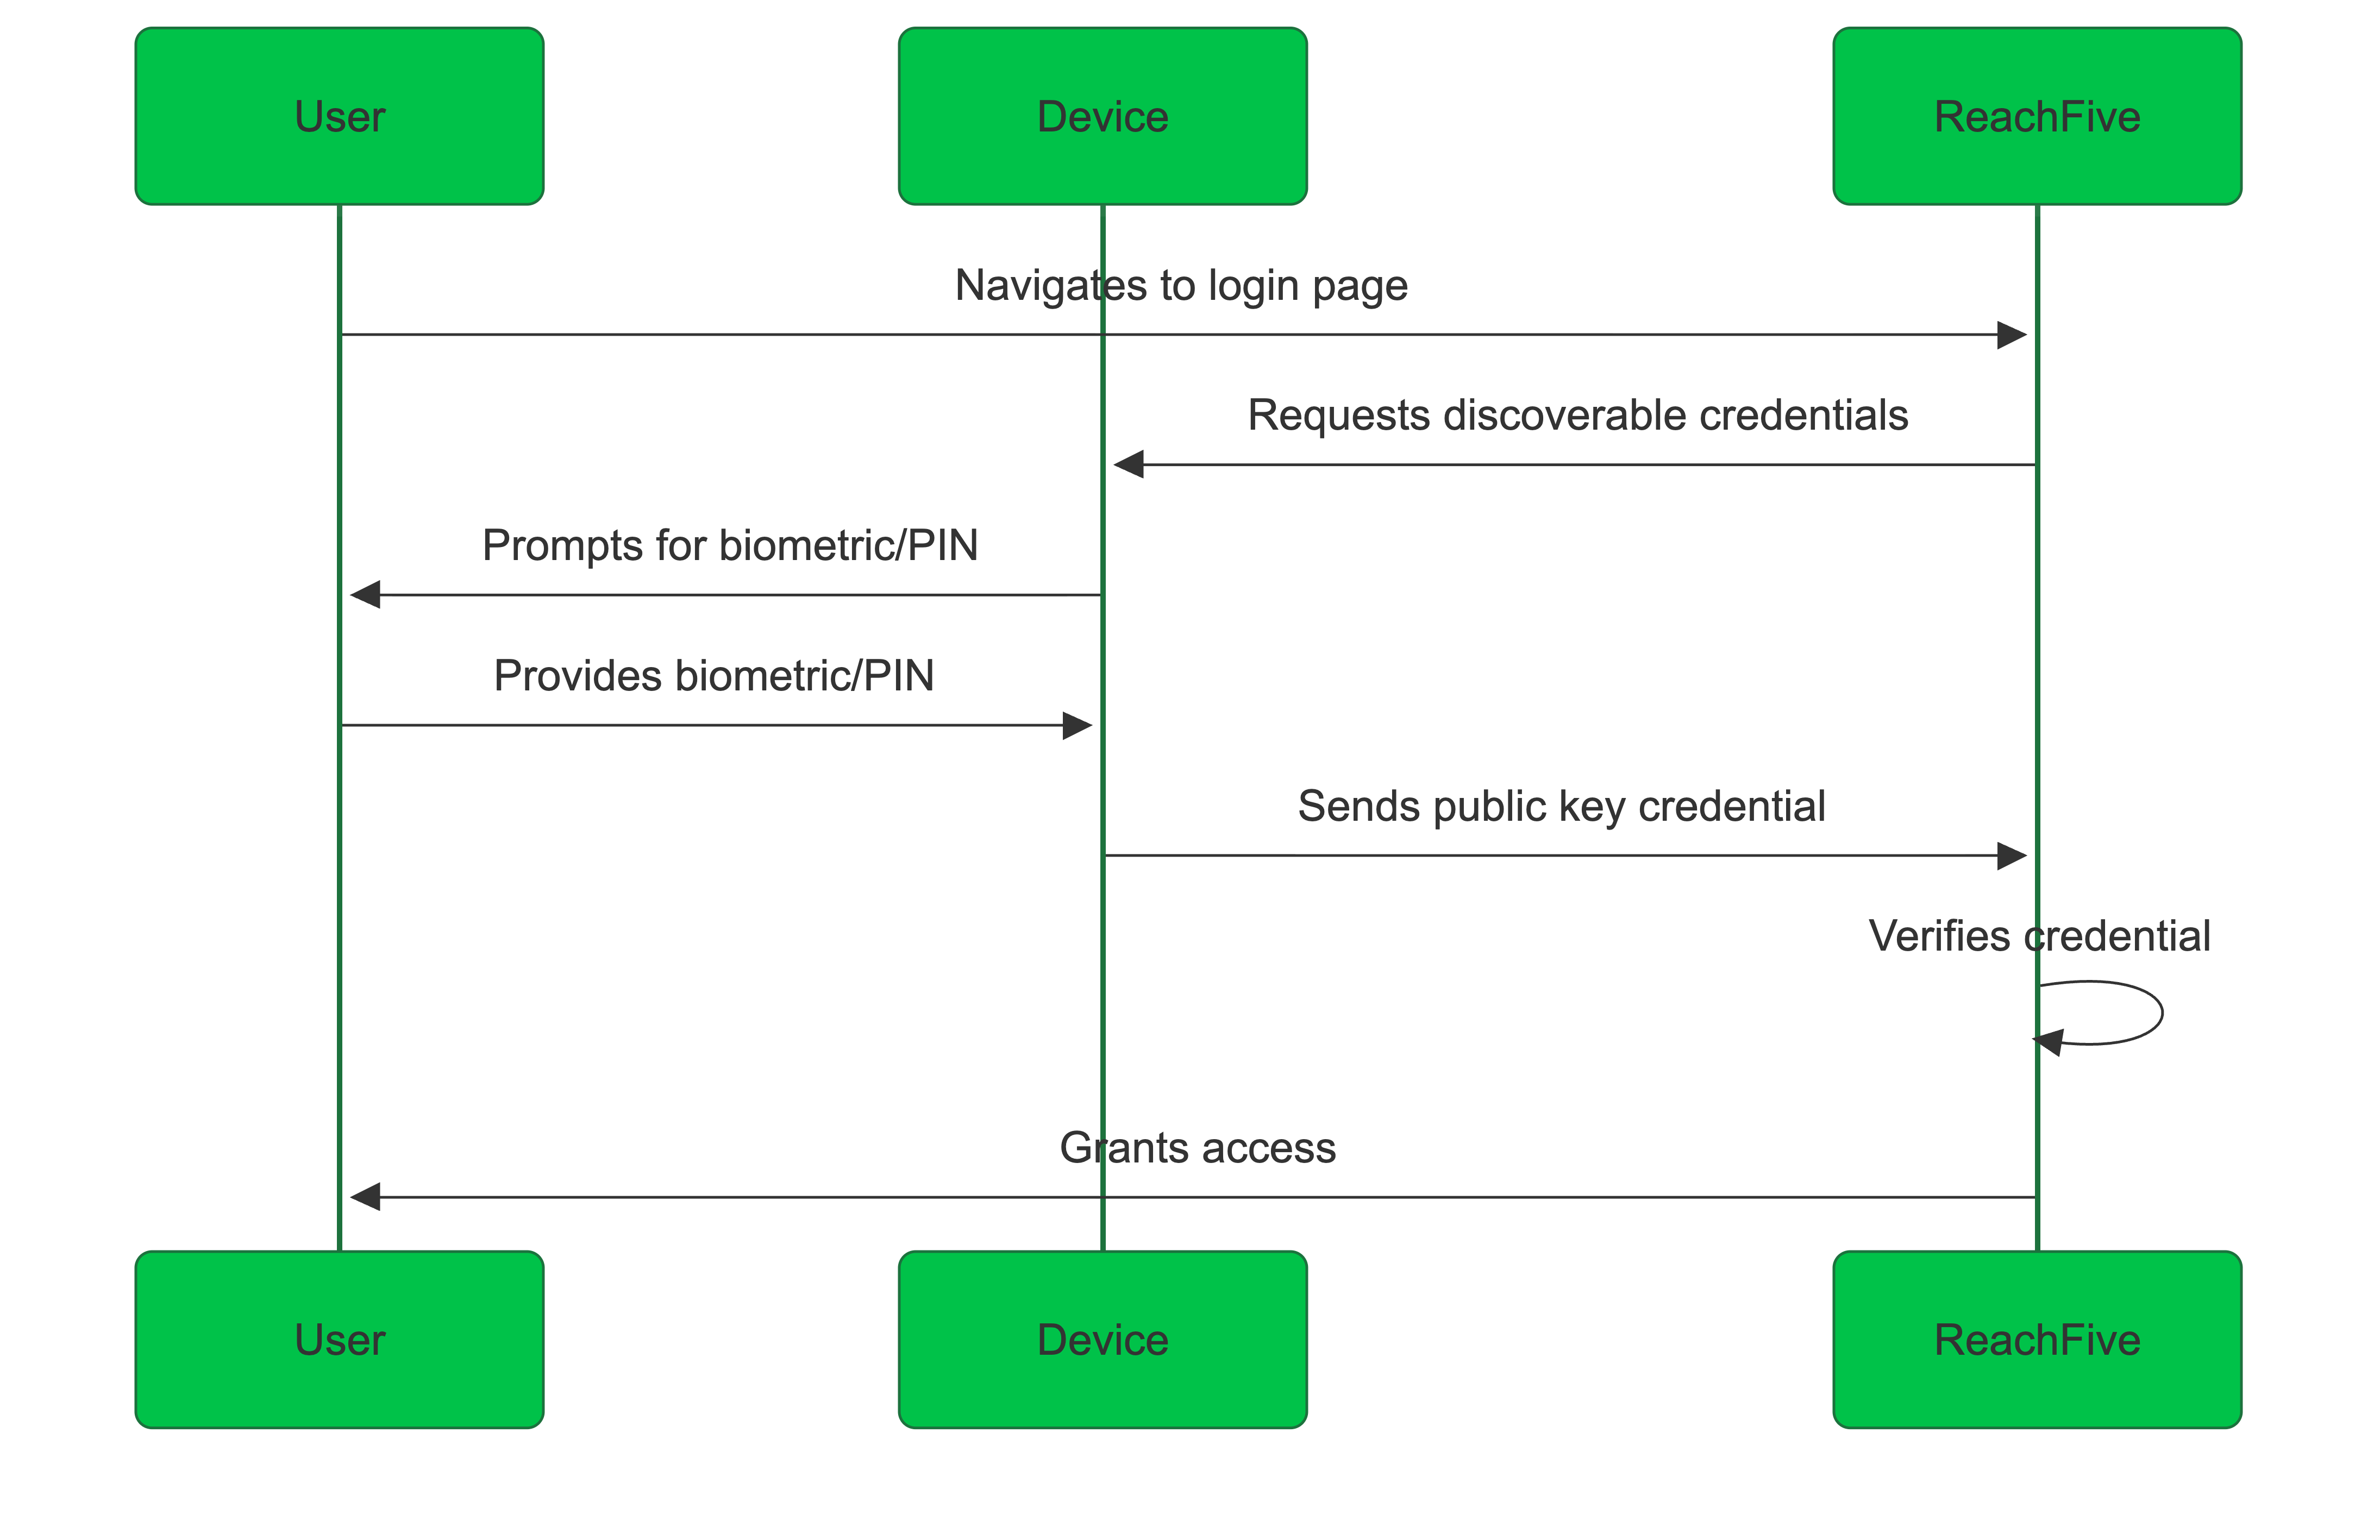
These are credentials that can be used without requiring any additional user input, like a username. They are associated directly with the user’s device and can be selected from a list of stored credentials.
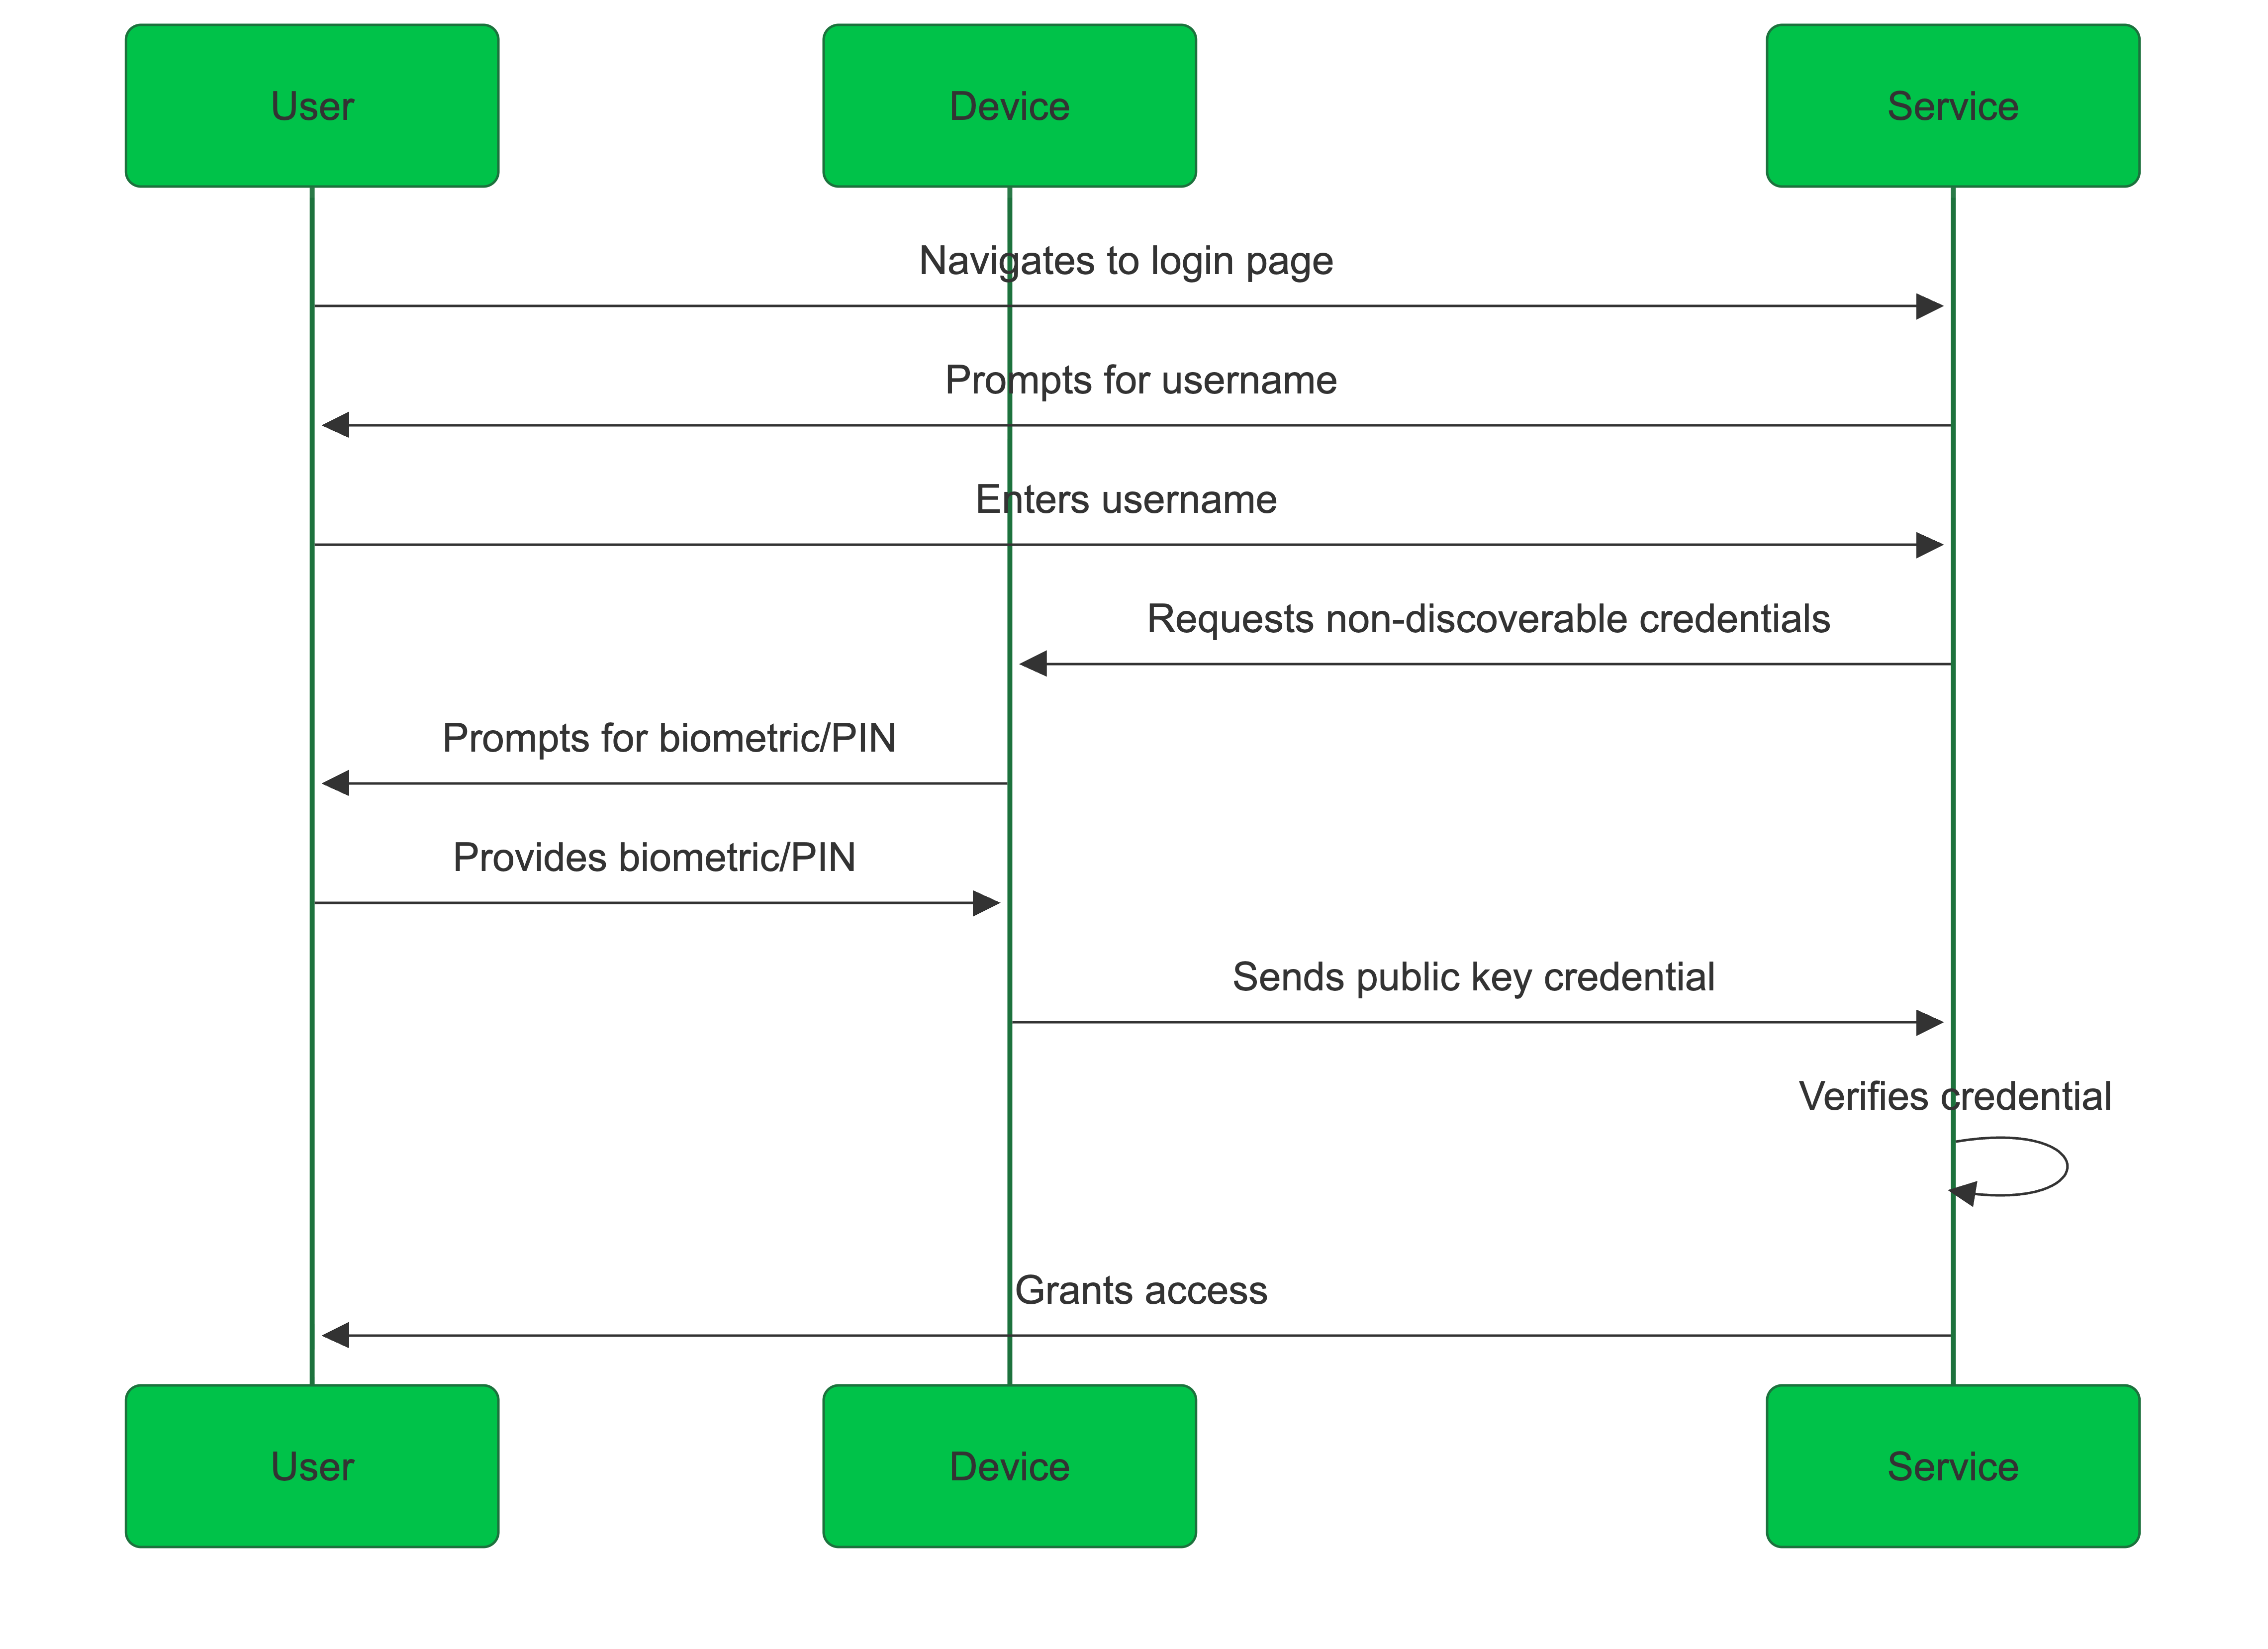
These require the user to input additional information, such as a username, to locate and use the appropriate passkey.
Passkey user events
Passkey registration and deletion emit dedicated user events that you can use with webhooks and Pub/Sub hooks.
Registering a passkey on an existing account does not add webauthn to auth_types until the user authenticates with it.
|
| Action | Events |
|---|---|
Sign up with a passkey |
|
Add a passkey to an existing account |
|
Delete a passkey |
If this was the last passkey after a WebAuthn login, |
Authenticate with a passkey |
The passkey’s last-used timestamp is updated, but that change is not listed in A completed WebAuthn login adds a WebAuthn value to |
FAQs
What happens if I lose my passkey? Can I recover the passkey?
Yes, you can recover your passkey. By leveraging showAccountRecovery, you can step through the account recovery process for passkeys.
Can I use browsers other than Chrome on my smartphone?
You can create biometrics credentials with browsers other than Chrome on Android and Safari on iOS. However, support for WebAuthn and Passkeys standards may vary and experiences may not be optimal.
Can I use a passkey created on Chrome desktop on my Android device?
As of 2026-10-22, no.
The passkey created on Chrome desktop can only be used on the same device.
Can I use a passkey created on one Android device on another Android device?
Yes.
Passkeys created on Android devices are synced using Google Password Manager. As long as the Android devices are connected to the same Google account, passkeys can be used on one device or the other.
Do I always have to create a passkey on the same device?
No.
You can register on a website by creating a passkey on a different device that the one you’re using. There is a QR Code flow that can be scanned from the other device that should hold the passkey.
Keep in mind that the device displaying the QR Code and the one scanning it must be physically close to perform Bluetooth communications to further secure the process.
Can I use a passkey created with Dashlane on all my devices?
Yes.
Dashlane handles complete synchronisation of the passkeys with all connected devices and browsers.
Can I use a passkey created with my iPhone on my other Apple devices?
Yes.
Apple synchronises your passkey using your iCloud Keychain, making the passkey available across all the devices connected to your Apple account. The passkey can then be used even though the biometrics authentication isn’t the same (e.g., Touch ID on Mac, Face ID on iPhone, Face ID or Touch ID on iPad, and so on).