Custom domains and certificate management
Manage SSL/TLS certificates for your custom domains directly from the Purse Identity Console. You can either use an automatically generated Let’s Encrypt certificate or upload your own custom certificate.
Overview
In the Purse Identity Console, you can automate the management of certificates for your Purse Identity project.
When you configure a custom domain, the system automatically requests and installs a certificate for you using Let’s Encrypt. If you prefer to use your own certificate, you can upload it through the console.
Prerequisites
-
You must have access to the page in the Purse Identity Console.
-
You must own and control the DNS for the custom domain you wish to configure.
-
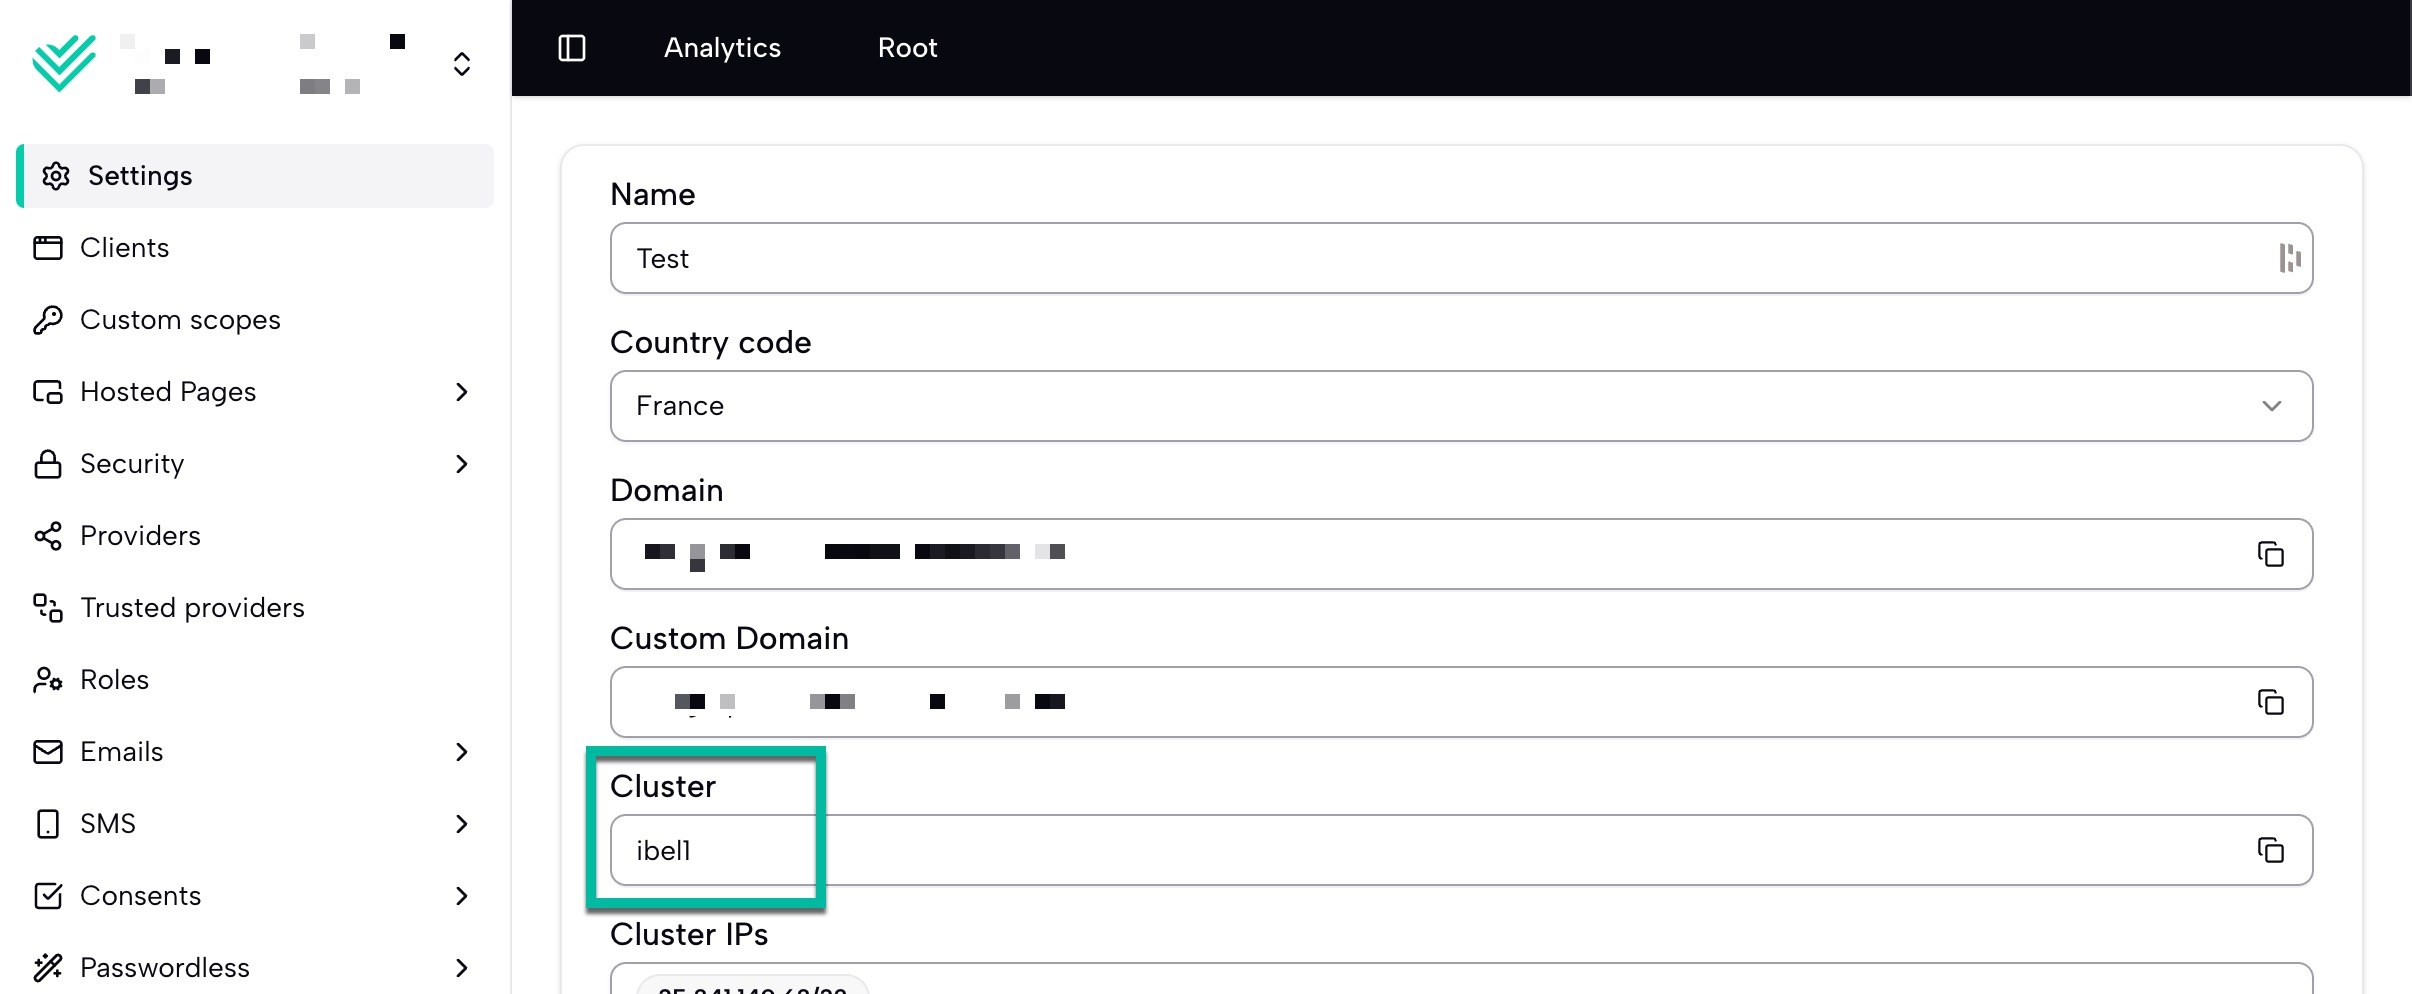
You need the correct cluster identifier, which is automatically managed by the system.
Configure a custom domain
-
Retrieve your cluster information in the Purse Identity Console under .
-
Create the DNS entry on your side using the information you received from us.
- DNS entry
-
test-custom-domain.domain.client IN CNAME <cluster>-ciam.reach5.co
-
Send us the custom domain name to complete the setup process. By default, a Let’s Encrypt certificate is generated via Automatic certificate management. If you prefer a custom certificate, see Custom certificates.
Automatic certificate management
When a new custom domain is saved, the Purse Identity Console triggers an automated workflow:
-
The certificate management service provisions an ingress resource on the cluster.
-
A Let’s Encrypt certificate is generated and installed automatically.
-
Renewals are handled automatically.
You don’t need to manually send certificate information or contact Purse Identity support.
|
Automatic certificate management is not supported when your DNS is managed through a reverse-proxy service such as Akamai, Cloudflare, or Fastly. In these cases, Let’s Encrypt cannot verify domain ownership because the proxy intercepts the verification requests. You must therefore manage your SSL/TLS certificate and its renewal manually. See Custom certificates for details on how to upload your own certificate in the Purse Identity Console. |
Custom certificates
If you prefer to use your own SSL/TLS certificate instead of Let’s Encrypt:
-
First, ensure a custom domain and an existing Let’s Encrypt certificate are already configured.
-
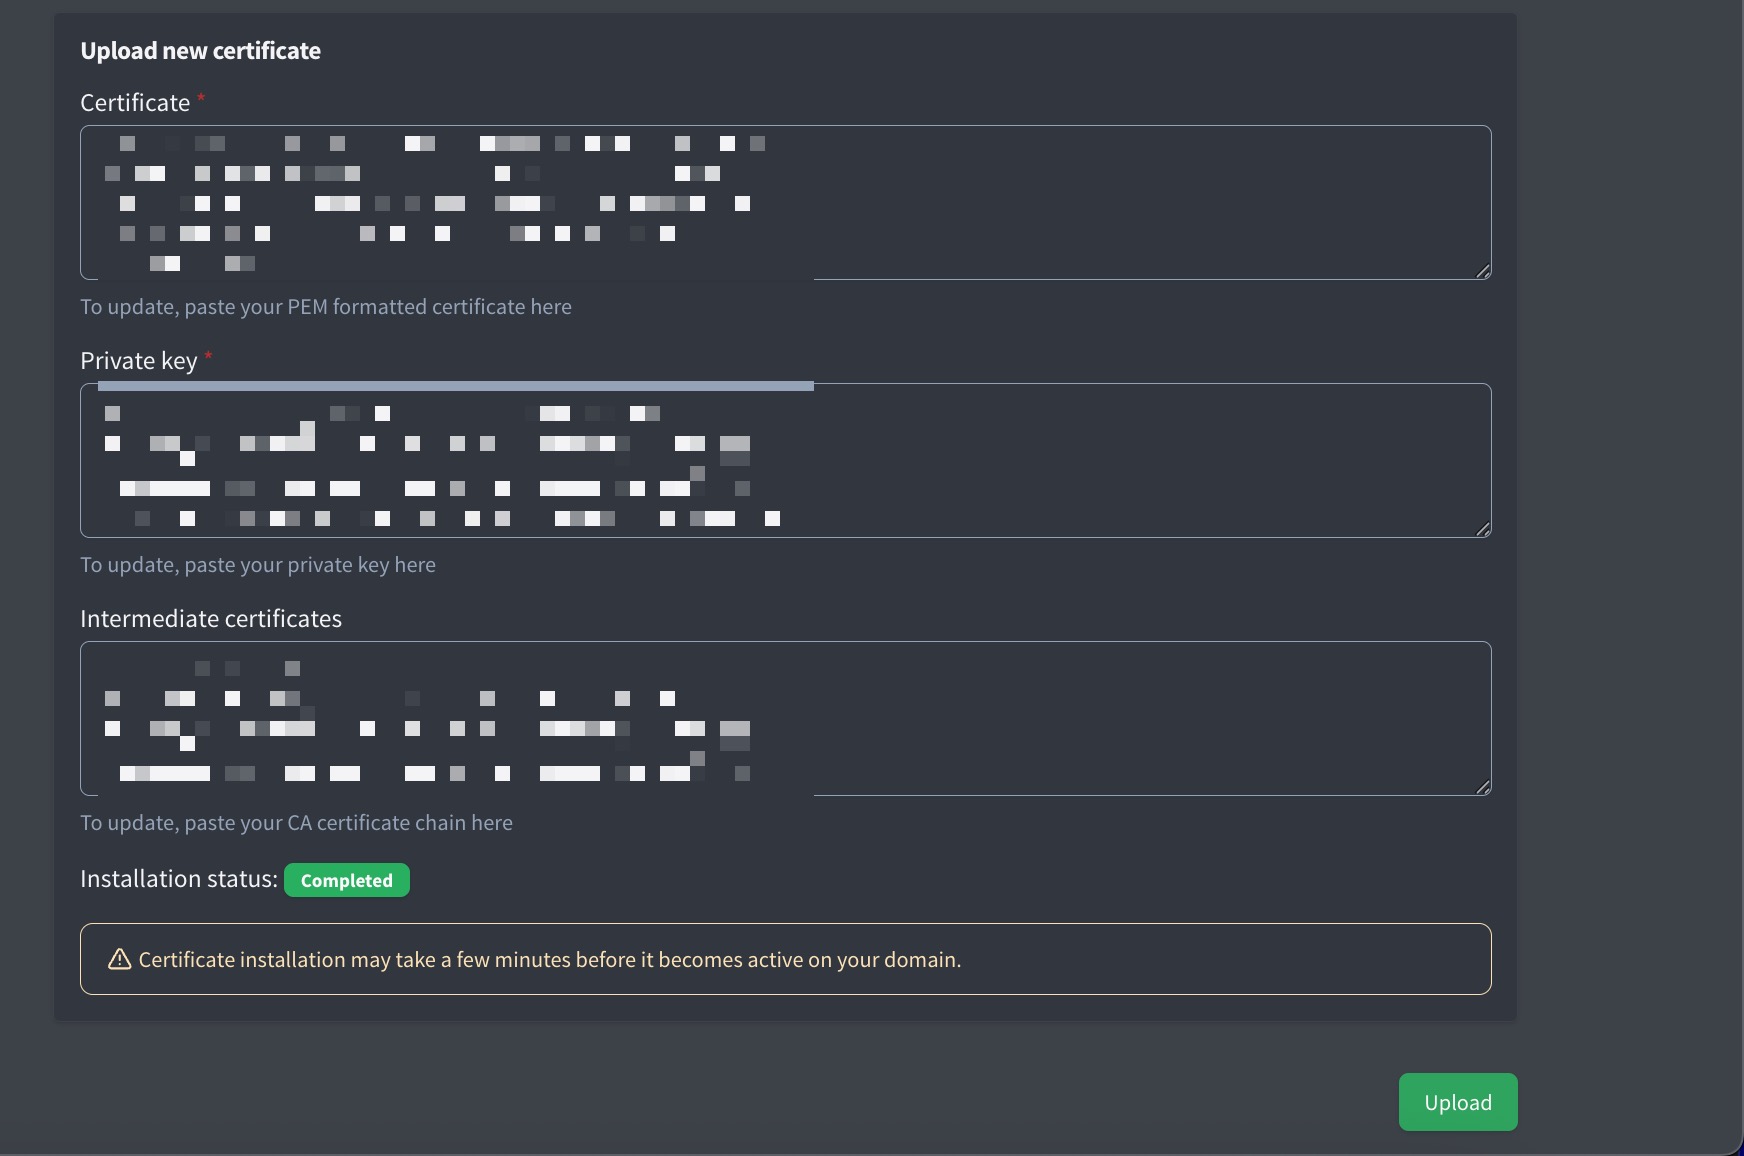
In the Purse Identity Console, go to .
-
Paste your PEM-formatted certificate.
-
Paste your PEM-formatted private key.
-
Paste any intermediate certificates (if applicable)
-
Click Upload.
When you save:
-
The Purse Identity Console sends a secure request to the certificate management service with your custom certificate data.
-
The certificate is installed on your cluster.
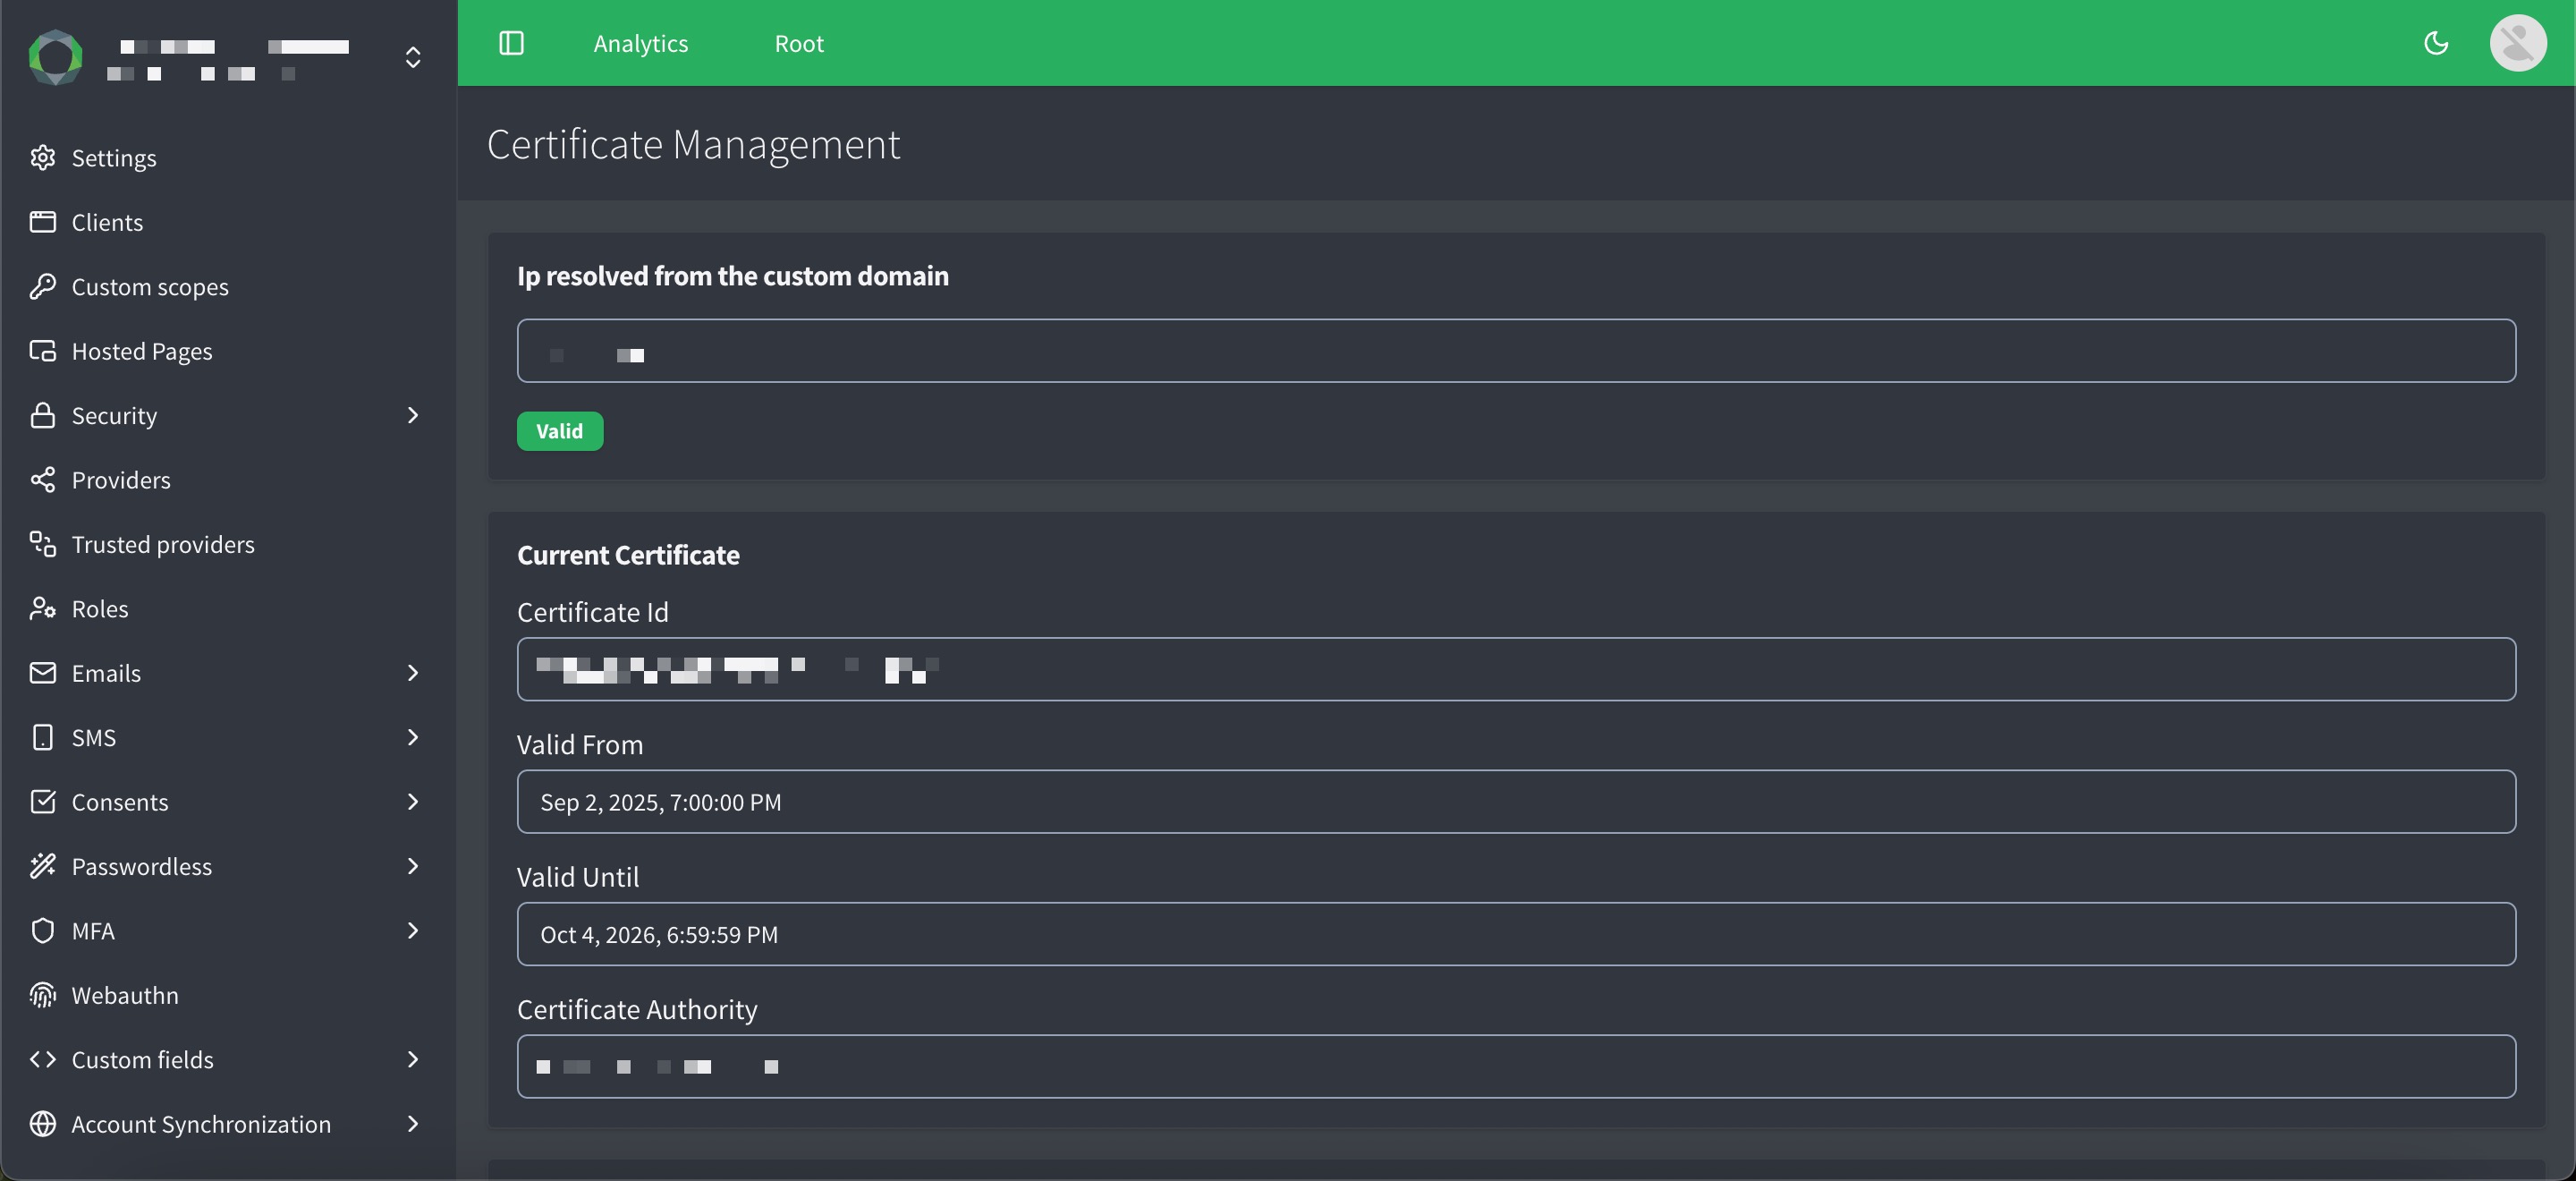
The Ip resolved from the custom domain lets you see that the custom domain DNS is configured correctly. In other words, the IP displayed corresponds to the IP of it Purse Identity default domain (e.g clientName.reach5.net) )
The Current certificate lets you see information about the current existing certificate which you previously uploaded or created with LetsEncrypt.
Updating a Custom Certificate
If you need to renew or replace a certificate:
-
Update the private key, certificate, or intermediate fields.
-
Don’t forget to Save your input..
The system compares your new values with the existing stored data (base64 format):
Notes
-
Certificates are stored securely in base64 format for integrity comparison.
-
Each environment (e.g.,
stagingandproduction) requires a separate certificate. -
We recommend using the Purse Identity PasteBin if you need to securely share certificate data with the Purse Identity team.